tensile specimens: Partial device marking to measure rupture elongation
tensile specimen: Cylinder head | thread head | shoulder heads
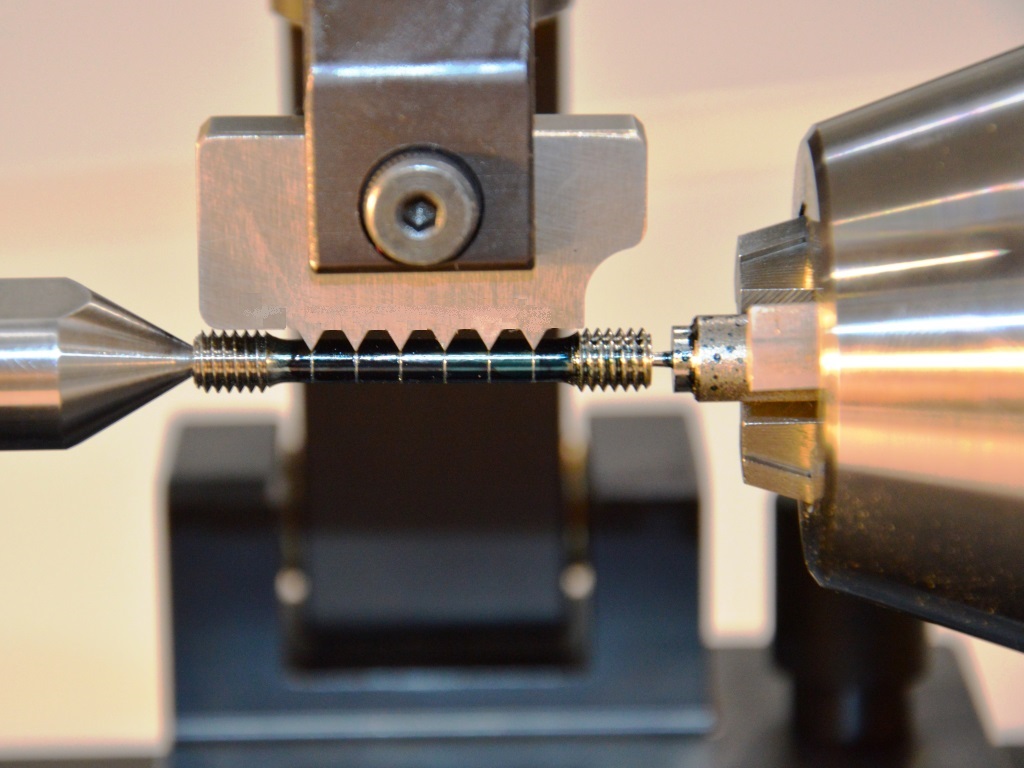
This newly designed device enables the rational marking of tensile specimens with very exact pitch (pitch 5 mm or as desired). The marking length depends on your requirements and should correspond to the Lc (the parallel part of the tensile specimen). Whereby in your mechanical specimen production an Lc longer by approx. 2 mm should be provided. Alternatively, a graduation can be omitted so that the two outer marking teeth do not touch down in the radius.
The marking length is easily exchangeable by means of a plug-in bolt. The marking comb is hardened (60 HRc) and very sharp-edged. This means that even hard sample surfaces are provided with exact scribe marks. In order to be able to record the measuring marks better, the tensile specimen can / should be provided with a touch-up paint (spray can or sponge) before marking. If the sample surface is relatively hard, only the touching paint is removed and the measurement with a caliper (under a magnifying glass) is easily possible.
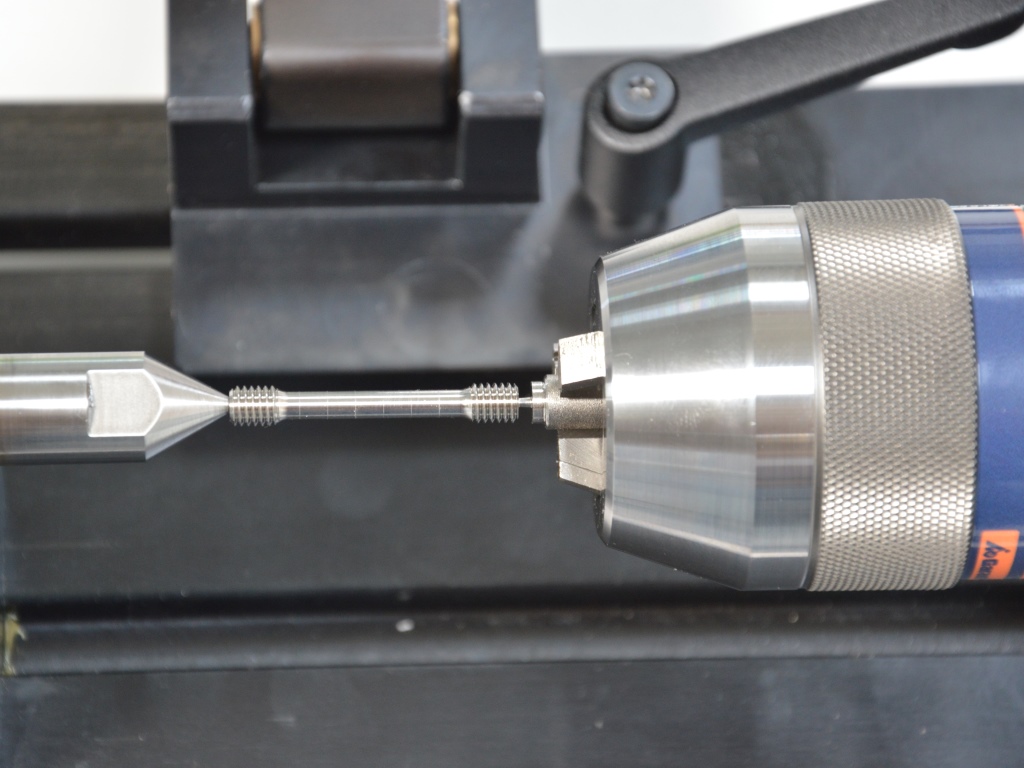
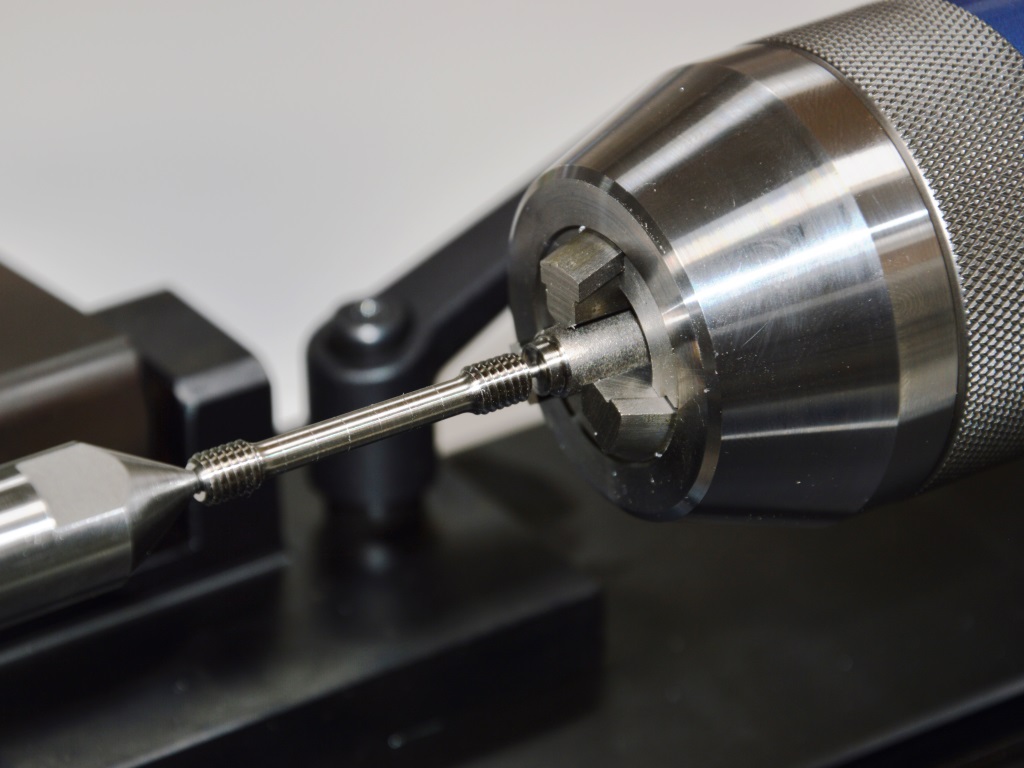
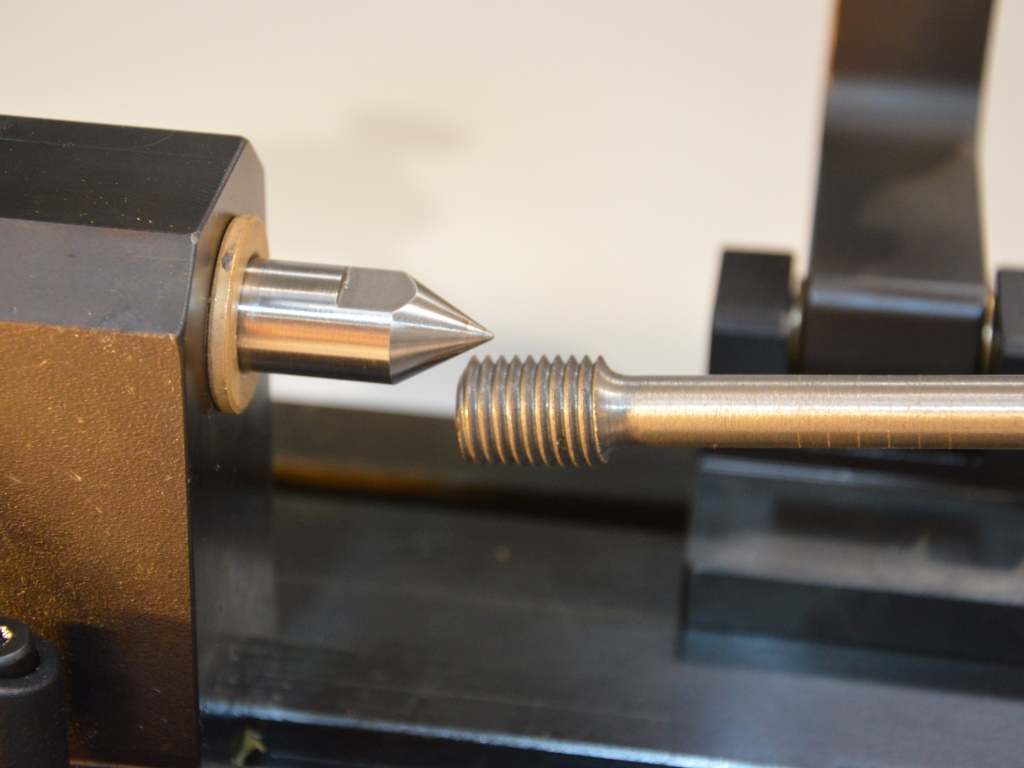
The specimen or the head of the tensile specimen (cylinder head, shoulder head, threaded head - others on request) is taken into the quick-action chuck on one side. On the opposite side there is a spring-loaded centring mandrel. In the case of specimens manufactured on a lathe, there is usually a centring hole at least at one end of the tensile specimen. This is required for the centring pin installed on the left side.
For other Lc (L0) other marking combs are available with a pitch of 5 mm - other pitches on request.
The application of the contact pressure is effected by a weight-loading system and can be varied by moving the weight. Other weights can be designed as required.


